Overview
In this post, I’m going to detail a new take on an old classic… Yes, I’m revisiting my animated analog clock which I did a series of videos Animated Clock Demo two years ago.
This time, I’m using SVGs and dynamically animating the hour, minute and second hand. You can see it in action in the video below. I’ll go into more detail if you want to build it yourself. You can also download a copy of the component here:
https://github.com/jwillisrose/PowerApps-Canvas-Components
Recipe
Here are the main “ingredients” for this component:
- Clock face (SVG recommended)
- Clock hand SVGs (i.e. hour, minute and second)
- Component library (optional)
Gather or create your SVGs
I bought a clock face off from Etsy but you can find many for free (or make your own!)
As for the hands, I created those from scratch. If you’d like to learn more about how SVGs work, you can go here: SVG Reference (w3schools.com)
Tip
You can create SVGs with PowerPoint. Just right click any shape or icon and click Save Picture… Then select .svg as the file type.
Create Component Library
Once you have your images, you’re ready to build your clock. This next step isn’t required, but if you plan to reuse this clock in more than one app, I highly recommend creating a component library. If you already have one or prefer not to, you can skip ahead.
There’s a few ways to create a component library today. My preferred way is to use a solution. For more on solutions, check out: https://docs.microsoft.com/en-us/powerapps/maker/data-platform/solutions-overview
I’ve created my solution
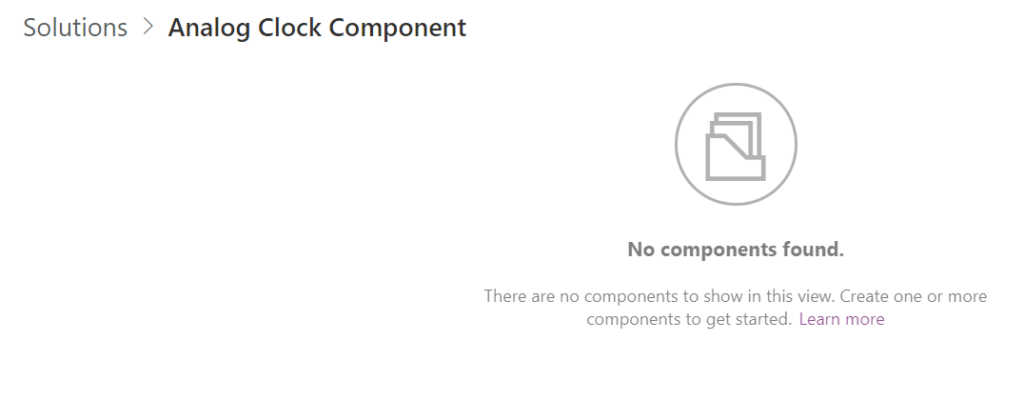
Next, click New and hover over Other, then select Component Library (note: as of today, Component Libraries were still in preview)
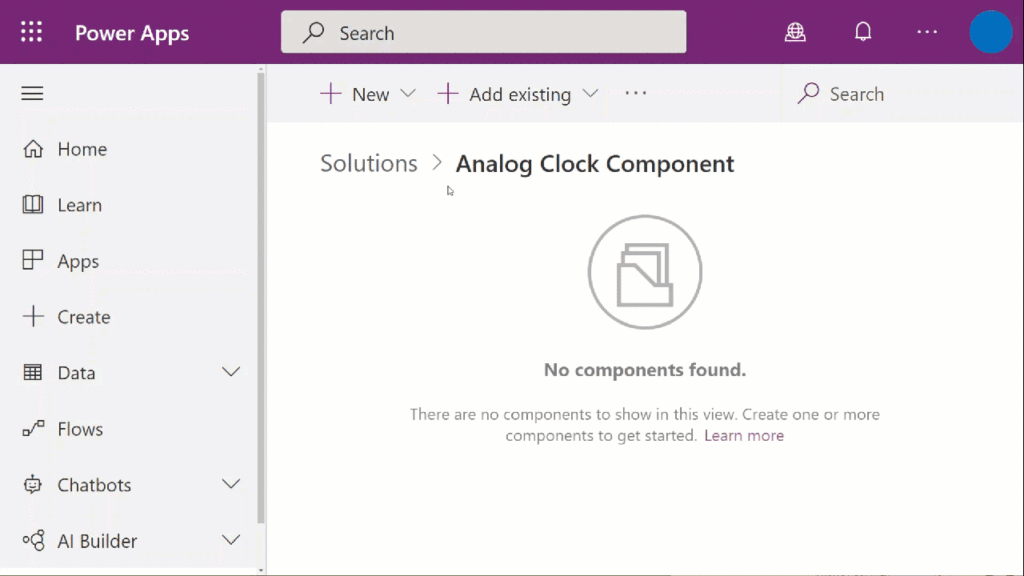
For other ways to create component libraries, see these instructions from Microsoft Docs.
Before you continue, don’t forget to save your new library. #SaveEarlySaveOften
I recommend giving it a useful name that ends with “Library” or “Component Library” so it’s easily distinguishable from other canvas apps in your environment.

Create Component
If you followed the previous step, your first component was already created.
I’ll rename the default component to cmpAnalogClock

Add controls
This component requires six controls:
- 4 Image controls
- Timer Control
- Circle Shape
Clock Face
Let’s begin with the clock face
Insert an image control

Open the SVG in a text editor
Tip
Highly recommend NotePad++ if you don’t have it already.
Once open, use a Find and Replace to swap all double quotes (“) with single quotes (‘):

Then remove any code before the <svg

Then paste this code before <svg
"data:image/svg+xml;utf8, " & EncodeUrl("
hen scroll all the way down and paste/type the following code at the end:
")
Now select all and copy the code
Back in Power Apps, select the Image property of the image control. Then replace the SampleImage with the code you copied

If you did it right, your clock face should appear:
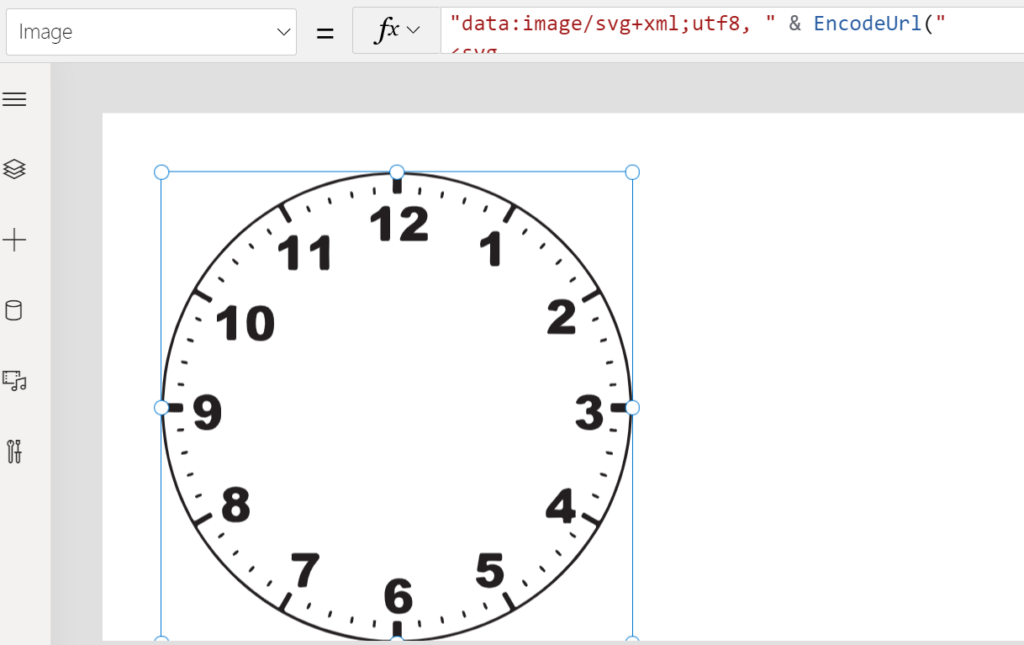
Note: you could use an image file instead of SVG code, but this ensures the image will always be available in the component. In other words, there’s no external dependencies.
Second Hand
For the second hand, you could find a clock hand online to use, but for simplicity sake I’m going create one from scratch. Here’s the starting code:
<svg width="200" height="200" xmlns="http://www.w3.org/2000/svg" xmlns:xlink="http://www.w3.org/1999/xlink" overflow="scroll">

<rect x="100" y="0" width="2" height="100" fill="#FF0000" transform="rotate(90,100,100)"/>

</svg>
The “magic sauce” for this clock is the Rotate() function in the <rect>. Rotate() has three parameters: radius and x,y coordinates of the rotation point. In the above code I set the rotation to 90 degrees from the center of the image (Width/2 and Height/2). We’ll be replacing somet of the numbers in this code with dynamic numbers. If you’d like to read more about the Rotate() function and the SVG Transform attribute: transform – SVG: Scalable Vector Graphics | MDN (mozilla.org)
For now, just follow the same steps as before to replace all double quotes (“) with single quotes (‘) and wrap the code so it looks like this:
"data:image/svg+xml;utf8, " & EncodeUrl("<svg width='200' height='200' xmlns='http://www.w3.org/2000/svg' xmlns:xlink='http://www.w3.org/1999/xlink' overflow='scroll'>

<rect x='100' y='0' width='2' height='100' fill='#ff0000' transform='rotate(90,100,100)'/>

</svg>")
Back in Power Apps, insert another image control and paste the above code into the Image property

Tip
Always remember to rename your controls with a standard naming convention. If you are unsure what naming convention to you, check out the
PowerApps Canvas App Coding Standards and Guidelines | Microsoft Power Apps
Animation
Now that we have our Hour hand, let’s get to work animating it.
In order to do that, we need to add a Timer control to the canvas

Configure Timer
We want this timer to start automatically and repeat every 1 second:

Note: Duration is measured in milliseconds, so 1000 = 1 second
Next we need to set some variables every second, so we’ll go to the OnTimerStart property.

varSecond will equal to the output of the Second function. Here’s the code below:
Set( varNow, Now());
Set(varSecond, Second(varNow))
We’ll be adding more variables later for Hour and Minute.
The last thing to do is hide the timer.

Update SVG code
Now that we have the timer working, we need to connect it to the SVG.
Tip
Resize all the image controls to fit the entire canvas with Parent.Width and Parent.Height respectively
The key is the Rotate() values. Specifically the first parameter: Angle.
I did a lot of trial and error to get the below code. Feel free to let me know if you have a different method. Basically, we need to convert the 360 degrees into 60 seconds
"data:image/svg+xml;utf8, " & EncodeUrl("<svg width='200' height='200' xmlns='http://www.w3.org/2000/svg' xmlns:xlink='http://www.w3.org/1999/xlink' overflow='scroll'>

<rect x='100' y='0' width='2' height='100' fill='#ff0000' transform='rotate("& (varSecond*360)/60 &",100,100)'/>

</svg>")
Tip
To preview your component, select Screens and then Insert, then Custom and add the component to the Screen 1 then preview (F5) the “app”
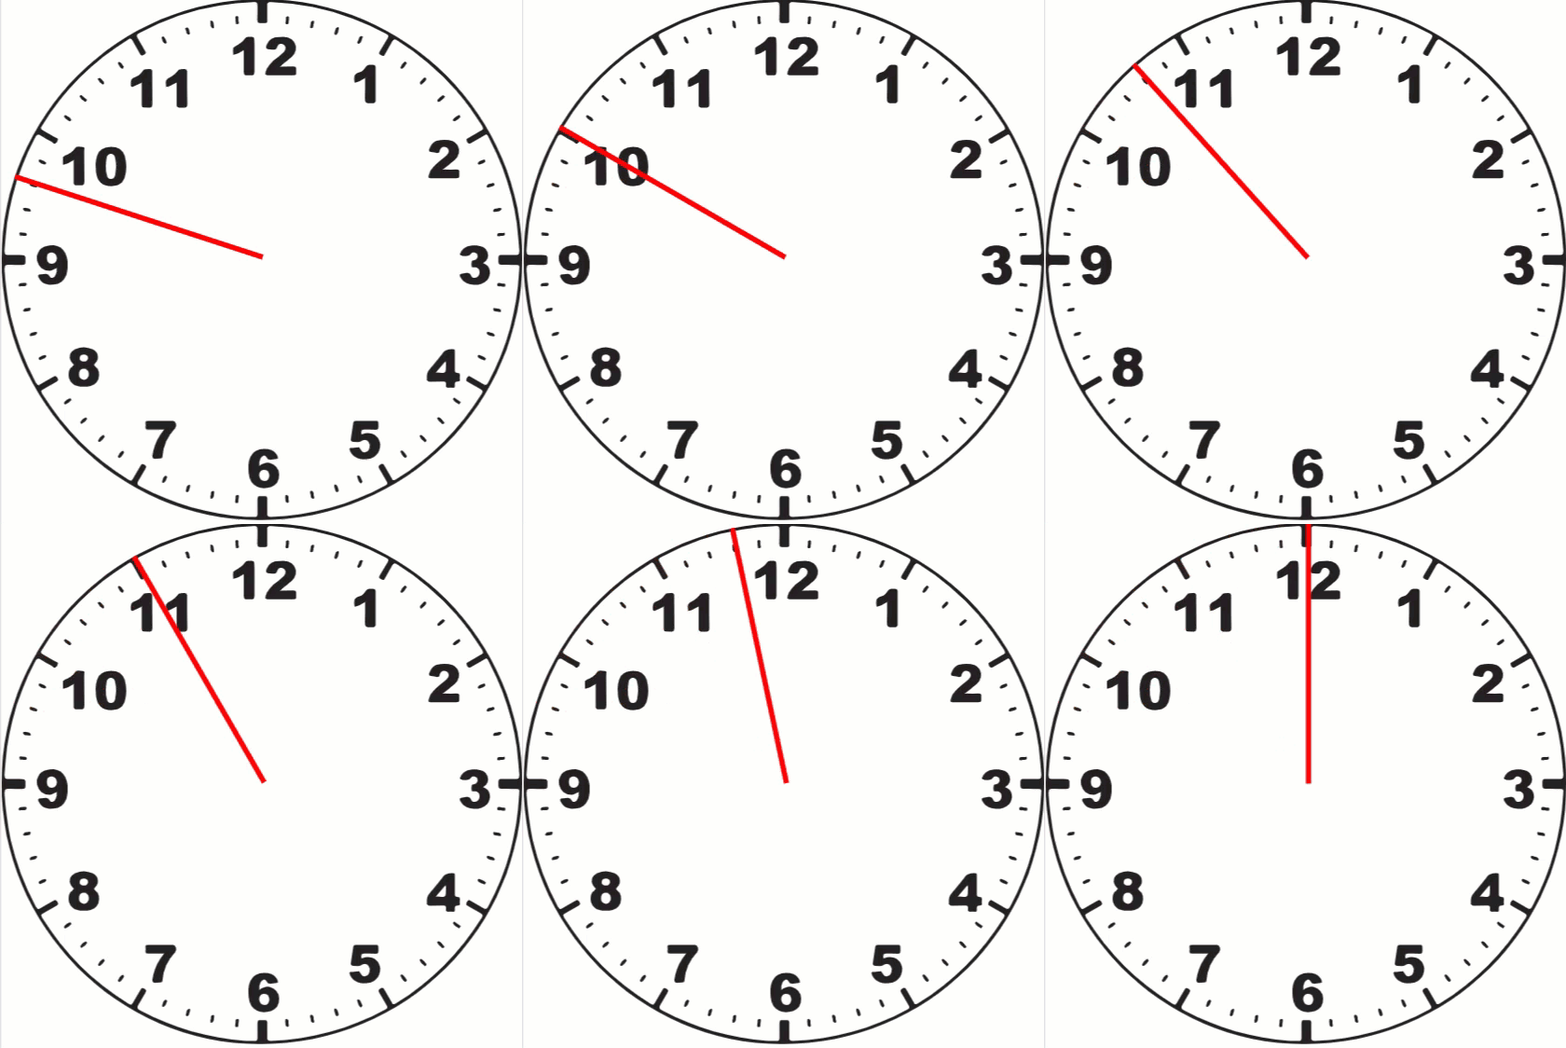
Hour and Minute Hands
We’ll need two more variables: varMinute and varHour.
Tip
Whenever possible, wrap functions in the Concurrent function to improve performance of your component/app
Set(
    varNow,
    Now()
);
Concurrent(
    //Set varSecond to the current second (0-59)
    Set(
        varSecond,
        Second(varNow)
    ),
    //Set varHour (0-23)
    Set(
        varHour,
        Hour(varNow)
    ),
    //Set varMinute to current minute (0-59)
    Set(
        varMinute,
        Minute(varNow)
    )
);
//Convert varHour into 12 hour (AM/PM) clock
If(
    varHour > 12,
    Set(
        varHour,
        varHour - 12
    )
)
Note: I added an extra step at the end to convert the 24 hour clock returned by the Hour() function into a 12-hour clock. You can remove this if you are using a 24 hour clock face.
We’ll repeat the same steps to create the Minute and Second hands. See below for the final code to paste in the image control:
Minute Hand
"data:image/svg+xml;utf8, " & EncodeUrl("<svg width='200' height='200' xmlns='http://www.w3.org/2000/svg' xmlns:xlink='http://www.w3.org/1999/xlink' overflow='scroll'>

<rect x='98' y='0' width='4' height='100' fill='#000000' transform='rotate("& (varMinute*360)/60 &",100,100)'/>

</svg>")
Hour Hand
"data:image/svg+xml;utf8, " & EncodeUrl("<svg width='200' height='200' xmlns='http://www.w3.org/2000/svg' xmlns:xlink='http://www.w3.org/1999/xlink' overflow='scroll'>

<rect x='97' y='30' width='6' height='70' fill='#000000' transform='rotate("& (varHour*360)/12 &",100,100)'/>

</svg>")
Tip
The <rect> x value is determined by the <rect> width value relative to the svg width value. The calculation is <svg> width /2 – <rect> width/2.
In the example above, for Hour Hand, the <rect> x = 200/2-6/2 = 97
Finishing Touch
Almost done! The last control to add is a circle shape to be the center of the clock face. This isn’t required, but I think it adds a nice touch.

Next, just set the color to match the clock face and/or hands color (in my example: black)
Set the X, Y, Height and Width properties to be relative to the Parent. You can play with the aesthetics, but here’s what I used:
Y = Parent.Height/2-Self.Height/2
X = Parent.Width/2-Self.Width/2
Width = Min(Parent.Width*.04,Parent.Height*.04)
Height = Min(Parent.Width*.04,Parent.Height*.04)
Tip
Use the Min() function to ensure the Width and Height are always identical, no matter how the clock is resized in the app.
Voila!
Here’s the finished animation:
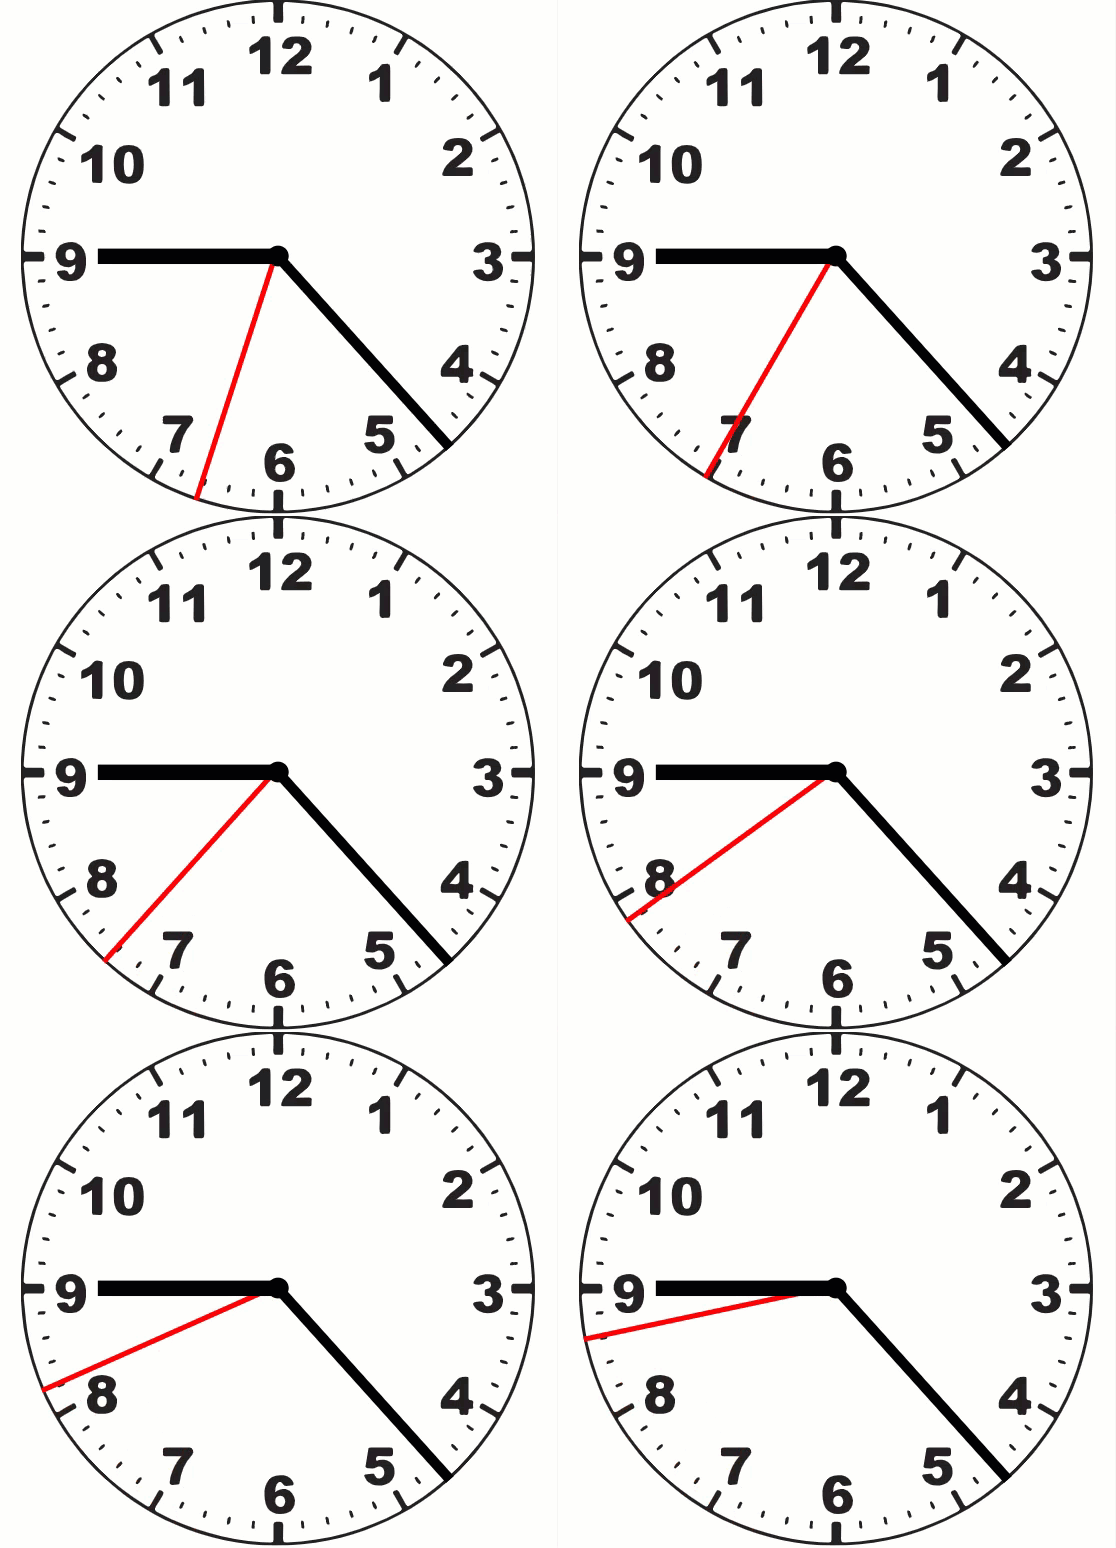
To download the full component, go here https://github.com/jwillisrose/PowerApps-Canvas-Components
If you have suggestions on how to make it better, don’t hesitate to reach out or leave a comment below.
Sneak Peak
In my next blog/video, I’ll show you how you can use parameters in your component to change the look and feel of your clock, change the hour (e.g. different time zones) and even add a “digital” clock read out
Thanks!
Pingback: Animated Clock v2.1 - Jamie Willis-Rose